Melting crayons into cool new shapes is a fun DIY to use up leftover crayon scraps, and make for a great gift.
I had a lot of crayons on hand, and they aren’t really something I use, so I wanted to create something new with them that can have a cool ombre effect.
Most people use a microwave or oven to melt the wax. However, I’m not really a microwave kind of gal, and I didn’t want to bake something in my oven that can leach any of chemicals into my food later.
Instead I find it easier to do this right on the stove. Also be sure to open a window – It doesn’t create a ton of fumes or anything, but fresh air is always good when working with any art products.
I did this in an old bread baking tin lined with parchment paper. You can also use an old tupperware container. If you want to use silicone molds, make sure you have a baking sheet underneath it to add stability.
Also make sure to use Crayola crayons. I have read that a lot of generic brands can use more toxic chemicals that can create more fumes.


For tools you will need…
– a selection of Crayola crayons to melt, preferably with colours that look good together
– an old pot you that you don’t mind a possibility of ruining (I would pick one up at a thrift store)
– a rubber spatula (also one just designated for arts and crafts)
– a container lined with parchment paper, or a silicone mold with a baking sheet underneath
– a knife and cutting board
- Remove the paper from the crayons. I used a knife and carefully (!) cut the paper lengthwise, but if you have young helpers with you, you may want to soak them in water to peel the paper off.
- Sort the crayons by colour. Break them up into 1′ or 2″ pieces.
- If you are using a container for this, do a quick test you have enough crayons by placing them into it. You want to make sure they loosely stack up at least 1″ deep.
- Turn a burner on your stove on to medium low heat and add your first small handful of crayons that are the same colour. Keep an eye on it, and stir often with your rubber spatula.
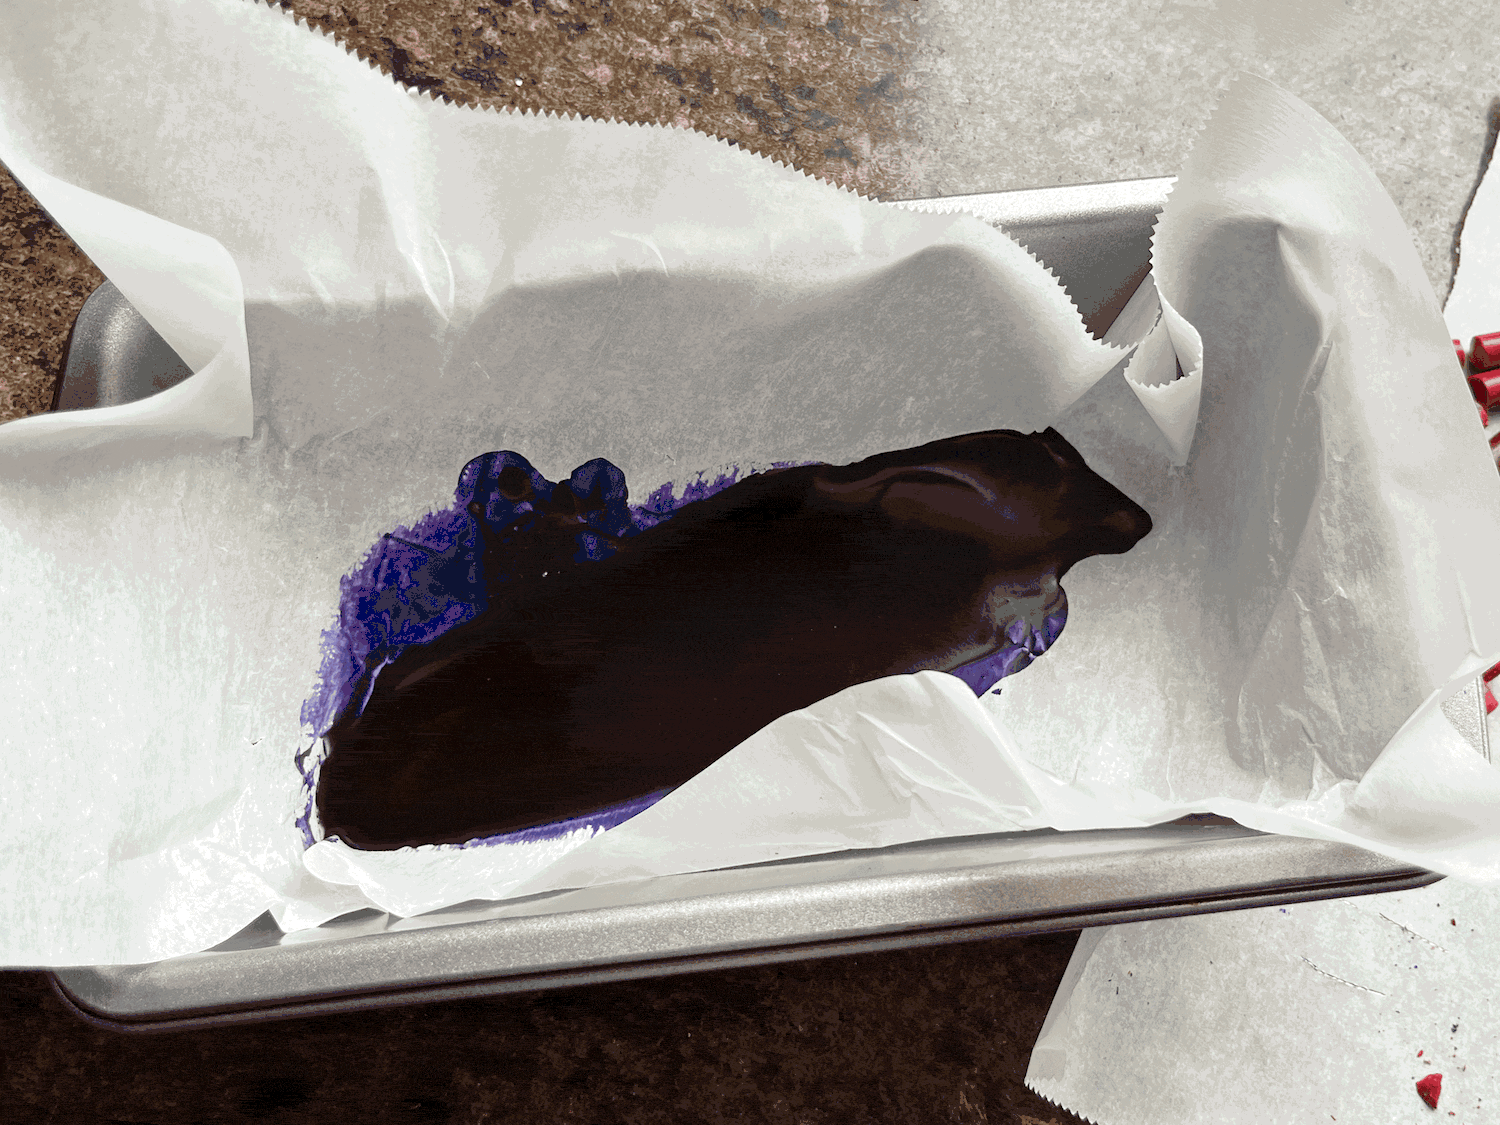
- Once melted, pour into your parchment lined container. Make sure you get most of it out with your spatula. Don’t worry if it doesn’t cover the whole container. You can also use your spatula to smooth it out if you want.
- Add your next batch of crayons that are the same colour and repeat, pouring on top of the first wax layer.
- Keep continuing until you have used all of your crayons.
- Put your container in the fridge and let set for 20 – 30 minutes.
- Remove from fridge, place on a cutting board, and carefully cut into crystal like shapes.
- And there you have it! Fun new crayons.